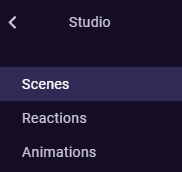
If you go to the Studio tab on the left sidebar you will find different kinds of Types to choose from.
In this guide, we will have a closer look at Scenes, Reactions and Animations.
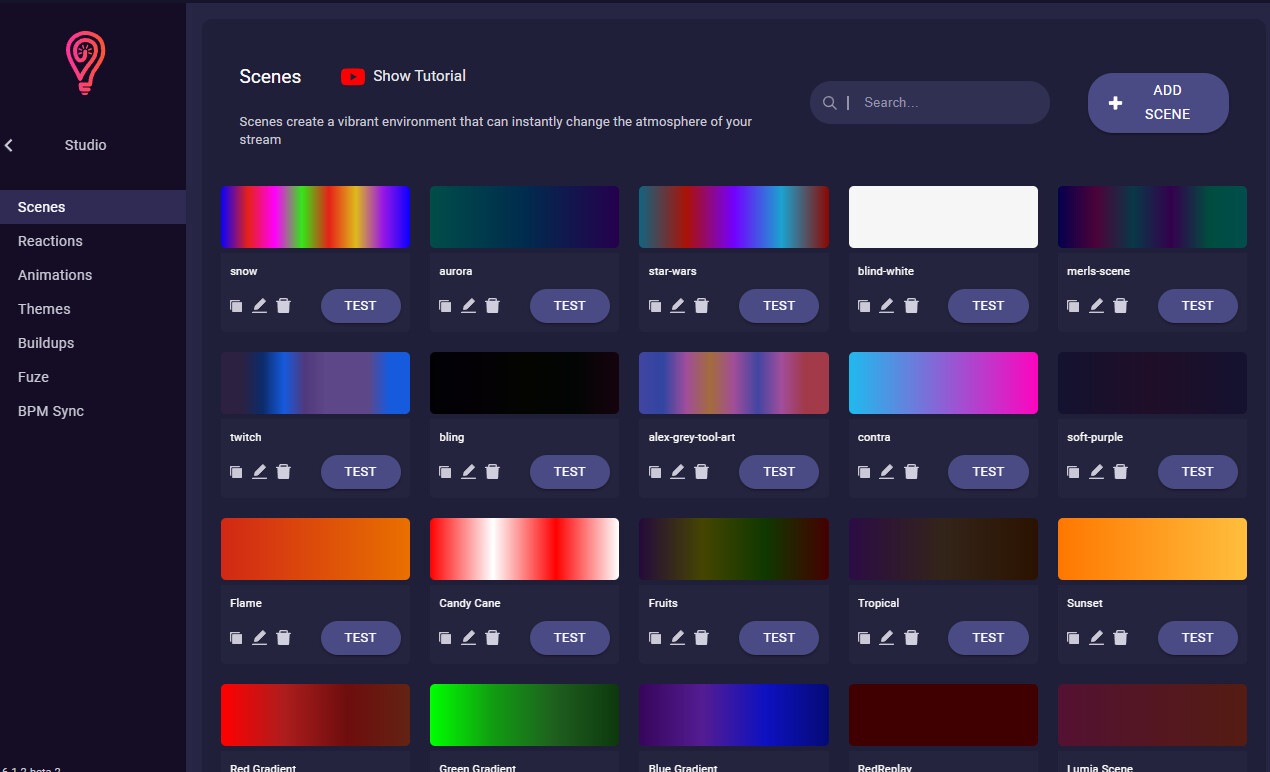
On top of every Studio page you also find a YouTube video linked to specific tutorials!
So let’s first start with Scenes.
Scenes are meant to be a static scene for your lights. So if you want to light your room with different colours but no blinking and flashing then this is the place to go.
So if we open our added Scene and give it a name. We can also choose if we want to create a chat command with the same name by saving this *Scene.
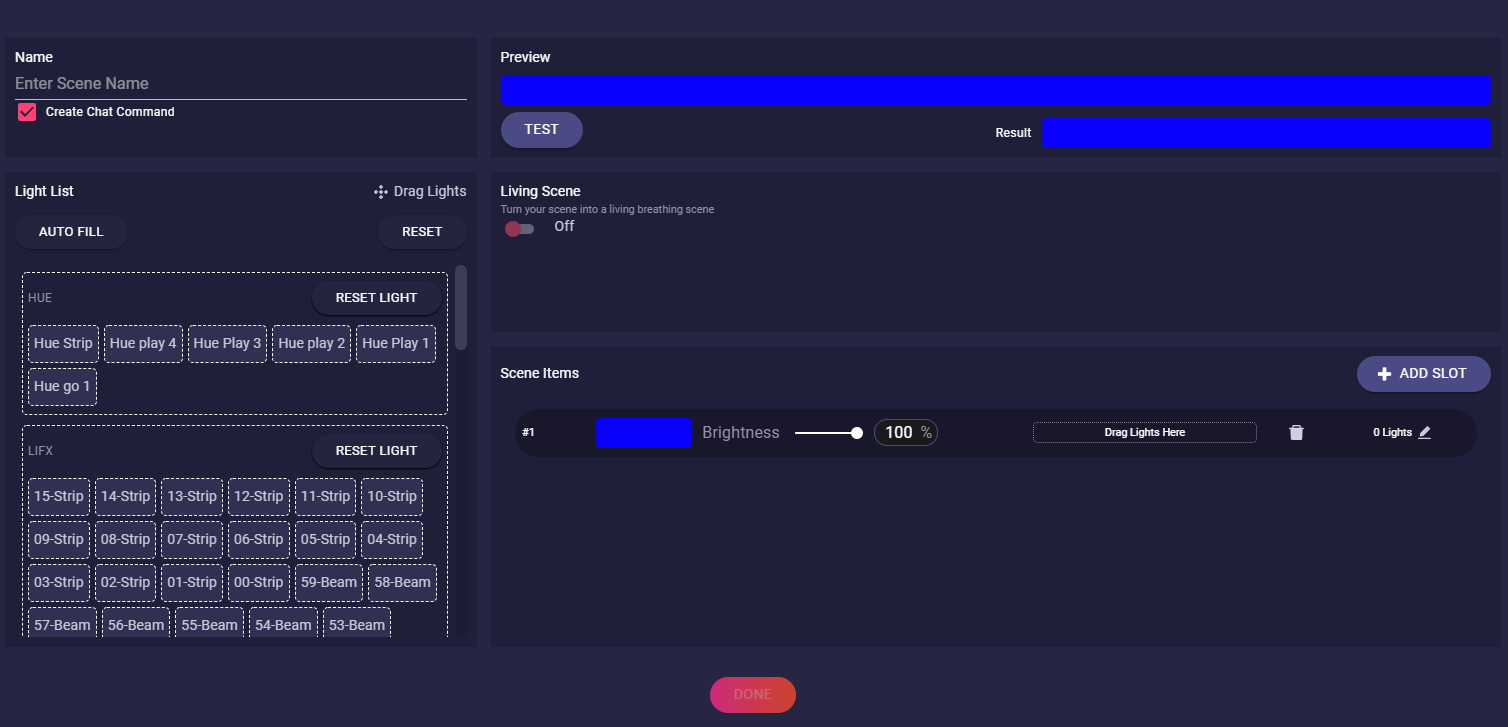
Scenes don’t have too many options. So it is quite simple and quick to build one.
You choose how many slots with colours you want and then you drag your lights in the designated slot.
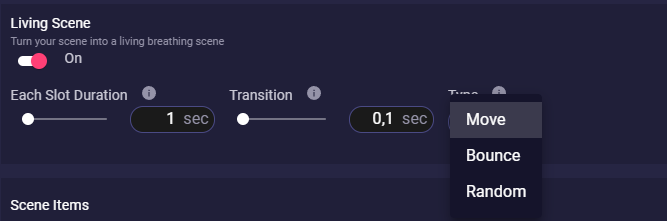
That’s it. You created a scene ![]() A little option to not make it just static is the Living Scene option. If you activate it you can bring a bit of “live” or “breathing” into the lights.
A little option to not make it just static is the Living Scene option. If you activate it you can bring a bit of “live” or “breathing” into the lights.
You can find a detailed tutorial at https://youtu.be/W647i7fYGlU
The next Type you can choose from is Reactions.
Reactions are meant for setting up uncomplicated lights changes.
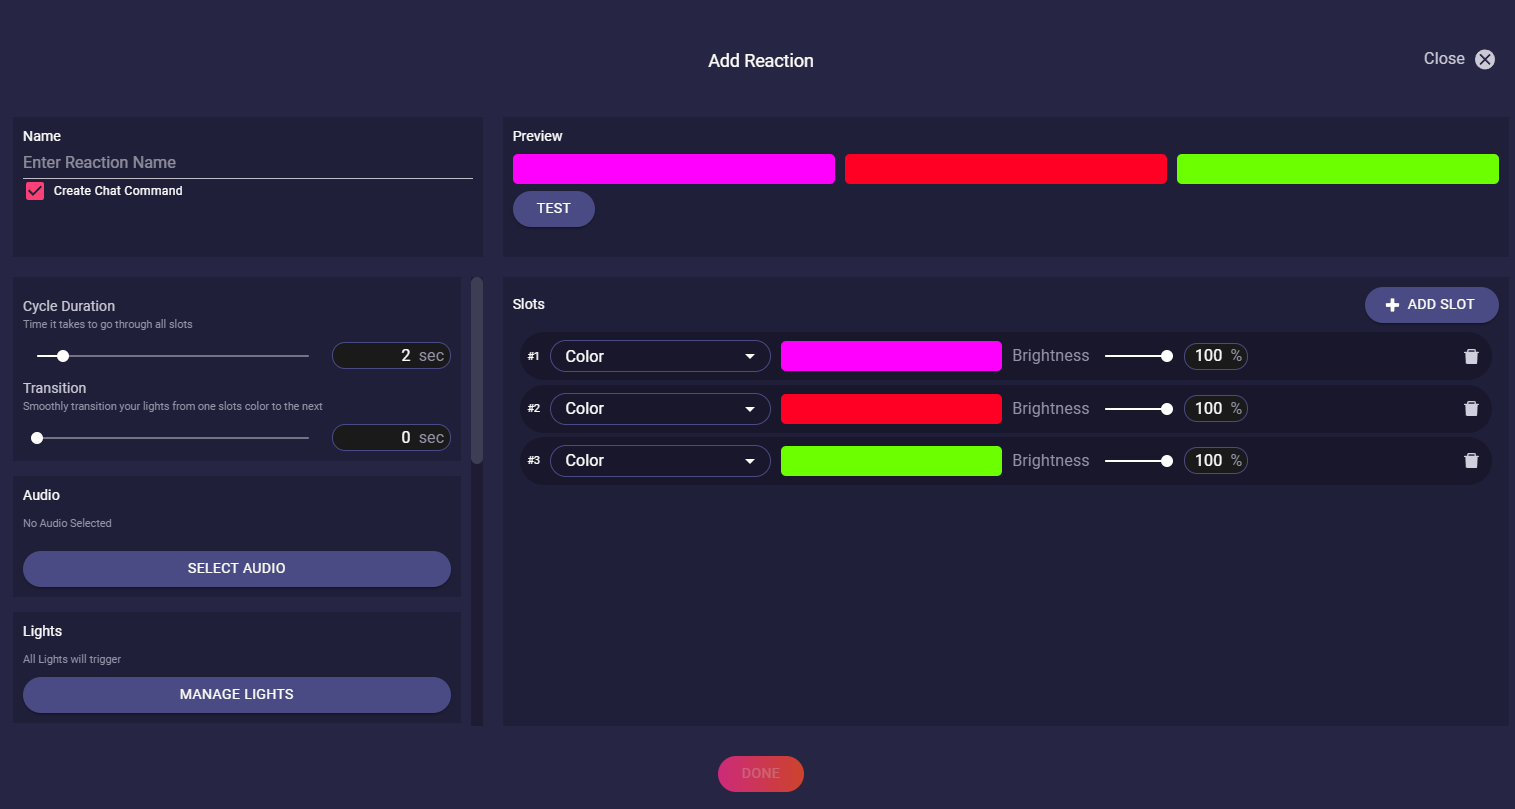
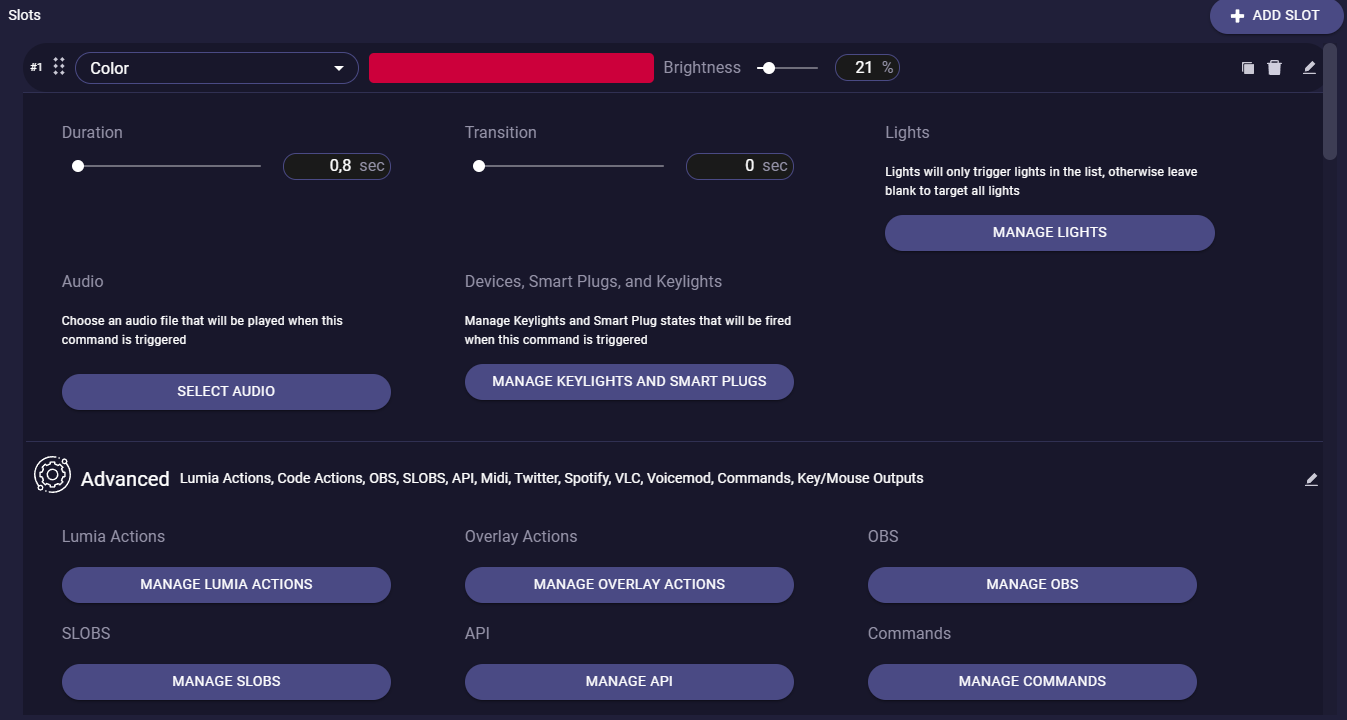
You add a new reaction and name it. Here you have some more options as you can bring a lot of motion into your lights. Also Reactions don’t need to be built from the second one to finish as it repeats if you put it into a command. There you set the duration of how long the Reaction will do your created sequence.
You may be confused if you test it as it only shows a preview. The best way to test it is to make a command with it and set its duration.
So basically you set up your slots (in Reactions you can choose if the slot is a colour, a scene, a random colour, lights off, a theme, or if it is a no light change) as you want it. I.e. the famous “Police” reaction. You make 2 slots and set them to a blue and a red colour. Then you choose the Cycle duration which means how long should it take to get from slot 1 to the last slot. You can also choose a Transition to make it look smoother.
On the left side, you also have some options to choose from, like attaching an Audio to it, letting only specific lights react or you could even trigger an OBS source with it.
You can find a detailed tutorial at https://youtu.be/irqsAQcidWY
And the last Studio Type is Animations
Animations are the most flexible Type of them all because you can combine all Types with each slot.
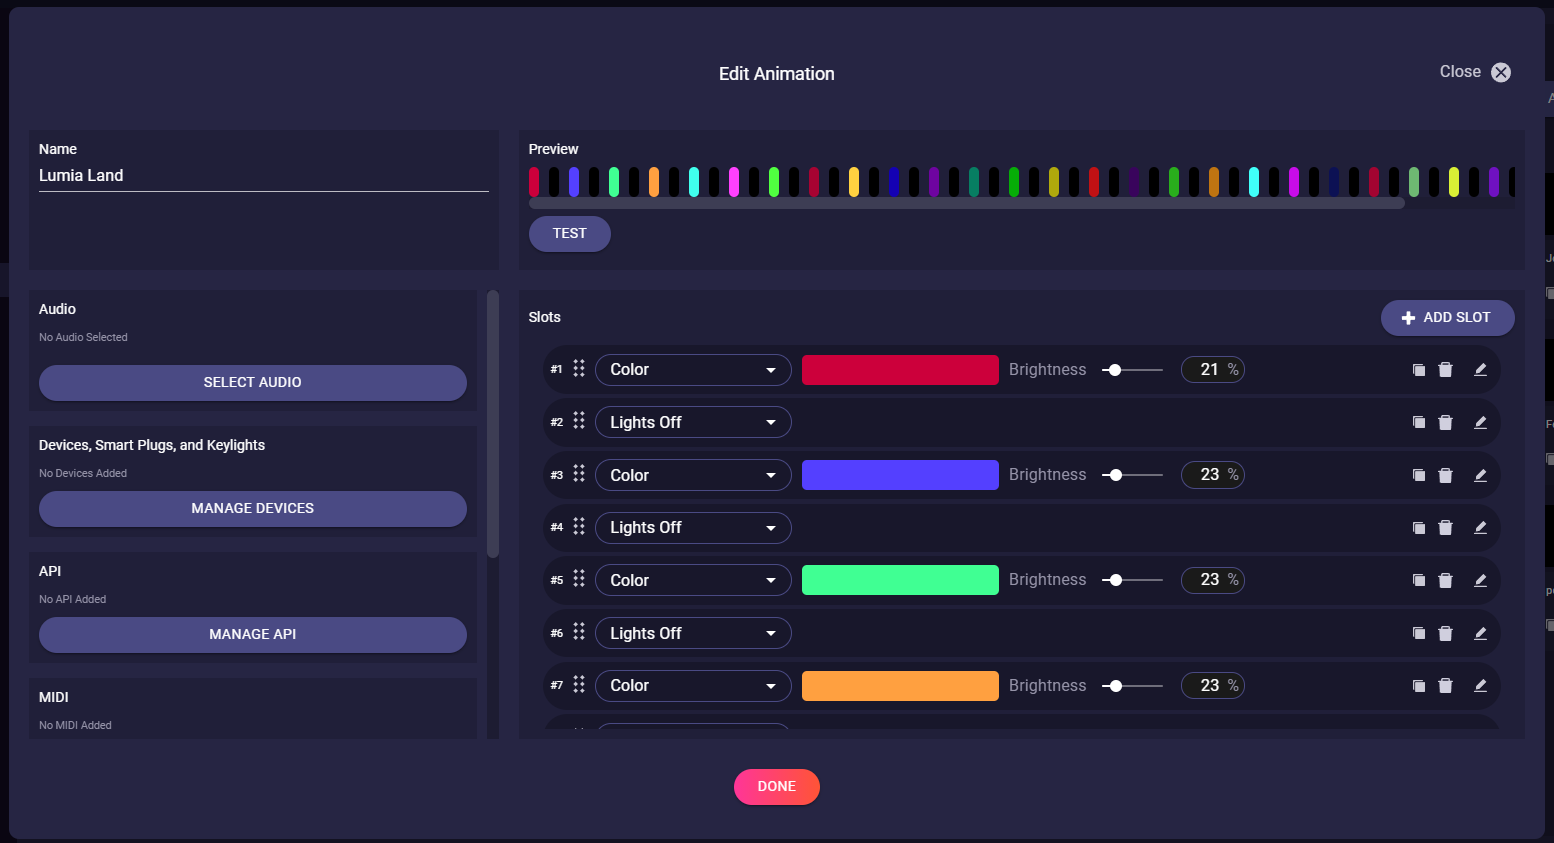
In this example, I created an Animation syncing with the song Lumia Land
Here you have all freedom you need to create marvellous effects. You can choose all integrations Lumia Stream offers but in every single slot.
So you can i.e. change an OBS scene or source with every colour change that is set.
A great tool for precisely timed events.
You can find a detailed tutorial at https://youtu.be/zn394wlxMkM
We hope this little guide helps you to see the difference between the Studio Types and makes it easier for you to choose the right Type for your needs.