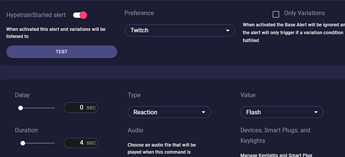
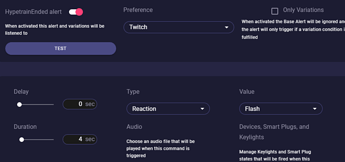
To begin we will head to Alerts > Twitch > Hype Train Started.
As you can see there are four different alerts for Hype Train.
Hype Train Started is when the Hype train begins, Hype Train Progress is when the Hype train adds points to your Hype, Hype Train Level Progress is when the Hype train progresses to the new Level and Hype Train Ended is when the Hype train is over.
You can have alerts and variations for each one.
To start out let’s just turn on the alerts and set the Studio Types, Values, and Durations for Hyper Train Started and Hype Train Ended.
Then For Hype Train Level Progress, we may want variations depending on what level we’re on. Like maybe we want our lights to default to yellow on level 1, green on level 2, and red on level 3.
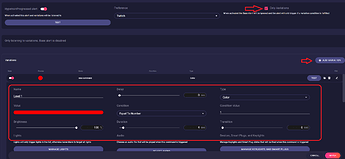
Head to Hype Train Level Progressed and we want to accept only variations here, so check only Variations.
Press the edit icon on the newly added variation and give it the name Level 1. We can set up our color red here and for the condition, we have to set it to Equal To Number. For the Condition value, we’ll set it to 1. We’ll also set this to our default light by scrolling down and under Dynamic Options selecting Permanent Default.
We’ll Press Apply and do the same thing for Level 2 and 3 and we’re good to go.
Now when we get a Hype Train it will set our lights to different colors based on the current level the hype train is on and keep it as the new default. We may want to change back to our original default when the Hype Train ends as well.
You can also set up Hype Train Progressed which can use the points of the Hype Train. So you actually do it like the level progressed but set a point value instead of a level.
Now use our other tutorials like Lumia Actions to send a message to discord when a hype train starts, text to speech, or even post a tweet when a hype train is active.


