Shoutouts were not always easy to manage in the past. You always needed an extra provider, like Guru or Streamgood. But even then you only had one shoutout for Twitch.
With Lumia Stream Overlays you now have it all in one tool. And that for Twitch, YouTube and Facebook.
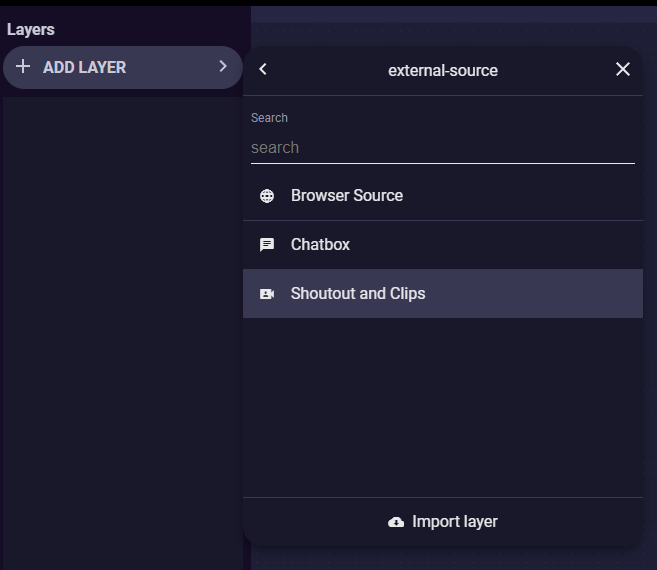
Just open your overlay and choose Add Layer on the left side.
There you select External Source and then Shoutout and Clips.
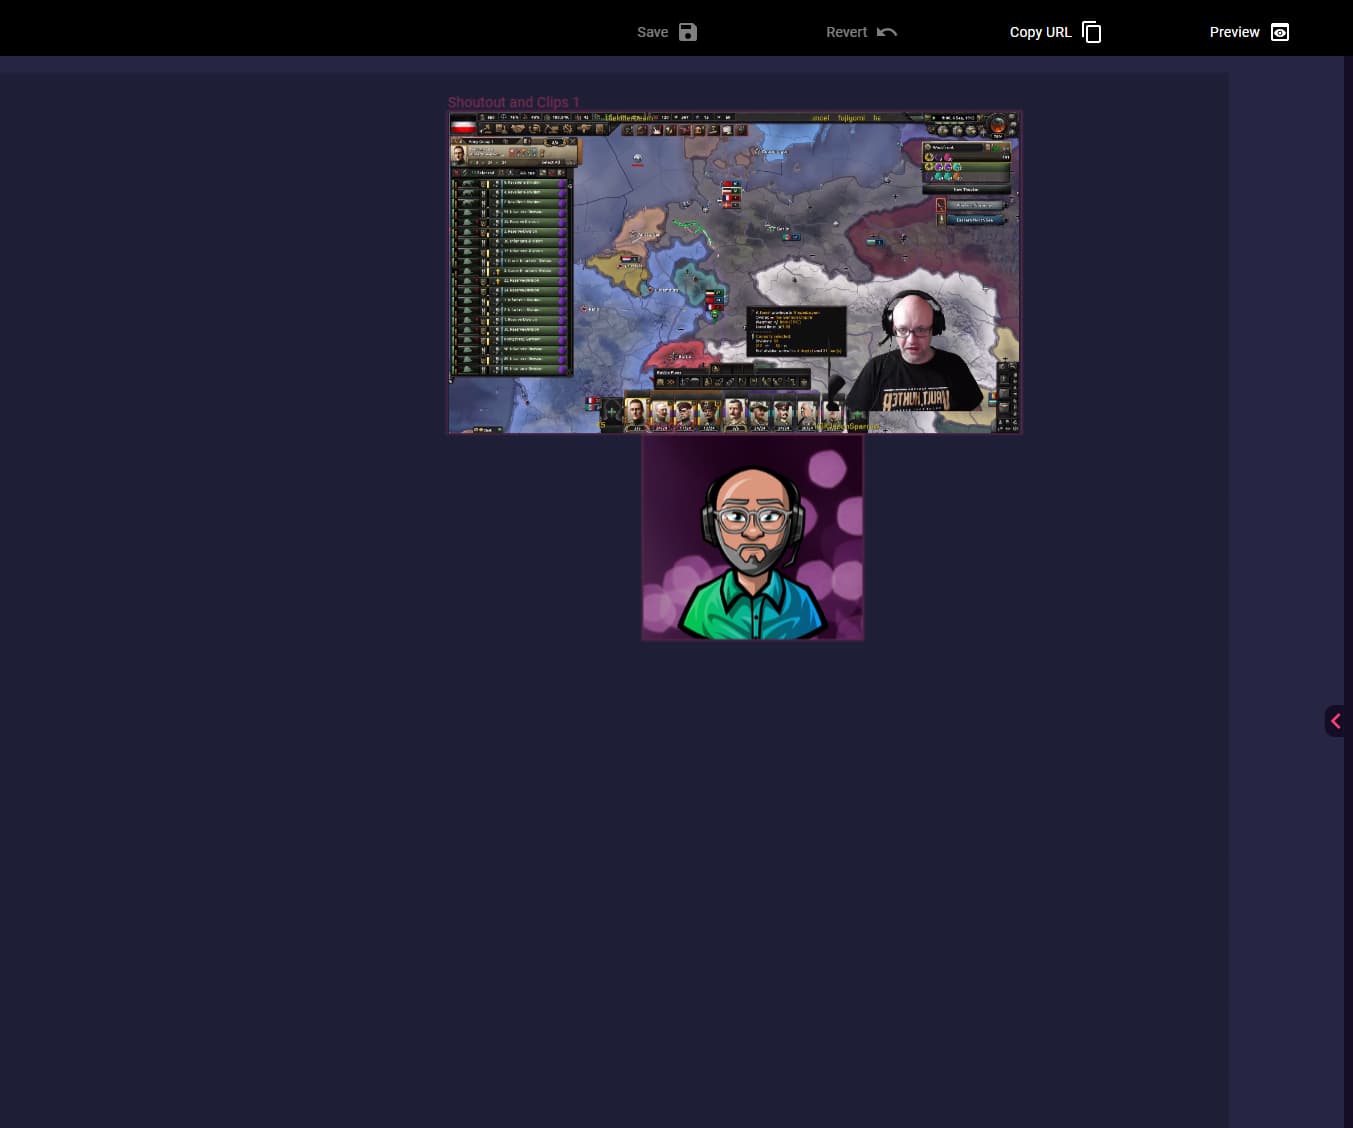
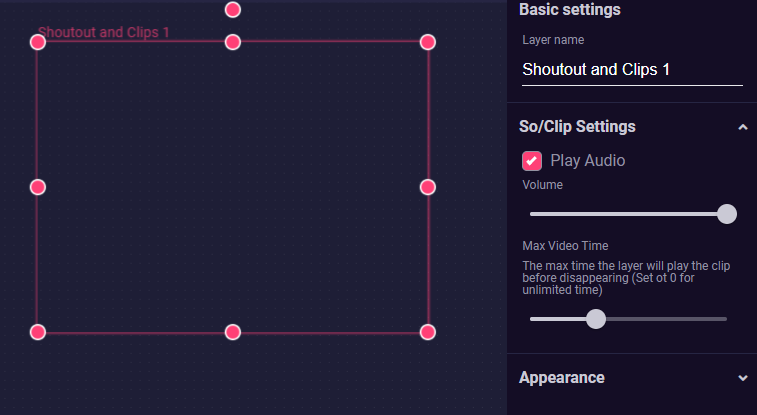
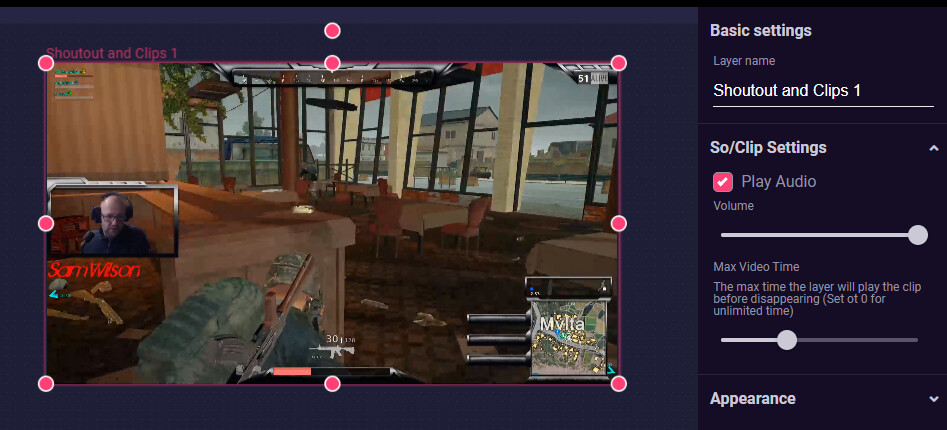
The Shoutout and Clips box will appear in your overlay and you just have to place it in the right place where you would like to have the clips. In the right sidebar, you can set subtleties, such as the volume of the clip and how long the clip may run.
Actually, you are ready now, because we have already prepared a SO command for you under Chat Bot Commands in Lumia Stream. Of course, we can still customize it as we see fit.
But basically, you have to type !so samwilsontv in your chat and a clip will be selected. Lumia Stream recognizes which platform you are on and displays a corresponding clip.
But you would like to see more information about your streamer friend on your screen? No problem. Let’s show his avatar in addition.
To do this, click Add Layer again, select General and then Image.
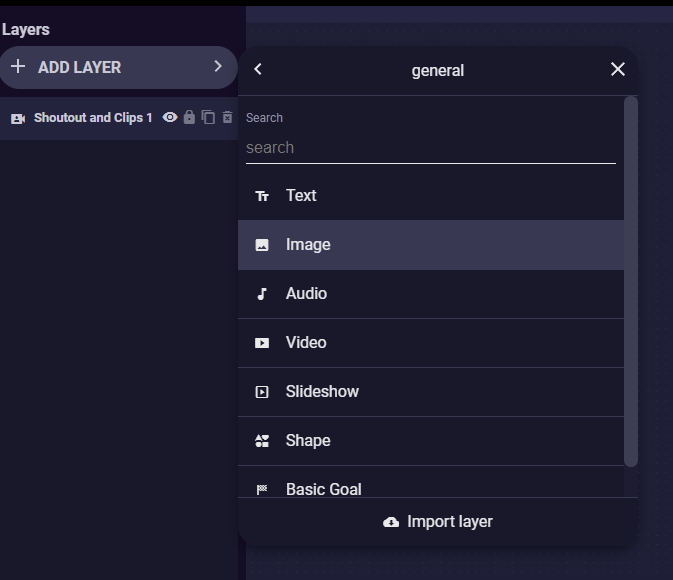
Place the Image Box as you want to see it and click on the little eye on the left in the layer column to make this layer invisible. Now save your overlay.
That’s all we’ll do with the image here.
Always remember to save your overlay in between, so you won’t lose anything.
Now we go to our Lumia Stream App and go to Commands and then Chat Bot Commands.
As you can see, we already have a basic set prepared, which will be expanded with many more features over time. You can’t add anything here but edit existing commands.
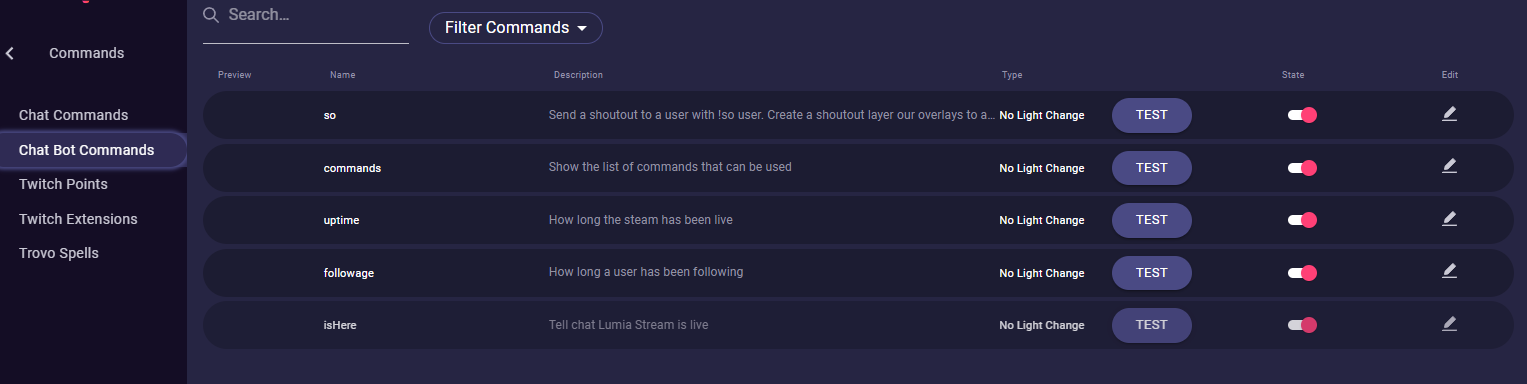
Then open the SO Command by clicking the small pencil on the right.
Here you can change your SO command to your liking. Like the chatbot message that appears in your chat.
Head to Overlay Actions from the upper tabs. With Overlay Actions you can do different things with your overlay via command or alert, like make layers invisible or visible or change text content.
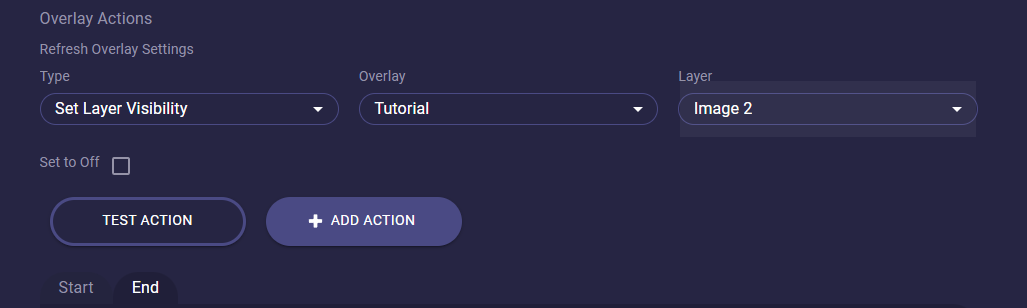
Now we set what should happen to our image layer when a shoutout is triggered. First, it makes sense to make the layer visible. So we choose as Type Set Layer Visibility. In Overlay we select our desired overlay and in Layer the appropriate image layer. Now we check the box and it changes to Set to On. At last, click Add Action

Next we have to define the content of the image layer, which has to change depending on the shoutout. For this we choose Set Content as Type.
With Set Content you can use variables if you want to change content individually. Set Image Content and Set Video Content contain dropdown menus with which you can select uploaded content.
As before, we select our overlay as Overlay and the desired layer in Layer.
In Content we select the variable {{clip_target_avatar}} from our variable menu. Click Add Action.

We don’t want to have this avatar on the screen all the time, so now we go to the End tab and undo our visibility again. So we choose as Type Set Layer Visibillity** set our overlay and layer and, very important, leave the checkbox empty this time. Add Action and our shoutout including clip and avatar is ready.
You should switch to the General tab and adjust the Durationfor fine tuning. Because if the Duration is expired, then the avatar becomes invisible again.